
Scanner version 1
▢ Need
The point is not about making pretty picture but usefull ones, which means maximazing spacial and texture information of the head.
ISO : must be the lowest possible value in order to avoid noise
Shutter speed : 1/125 is good, 1/250 would be better but those value need a lot of light
Aperture opening : F/9-F/11 are what we want (depth of field that cover the whole head)
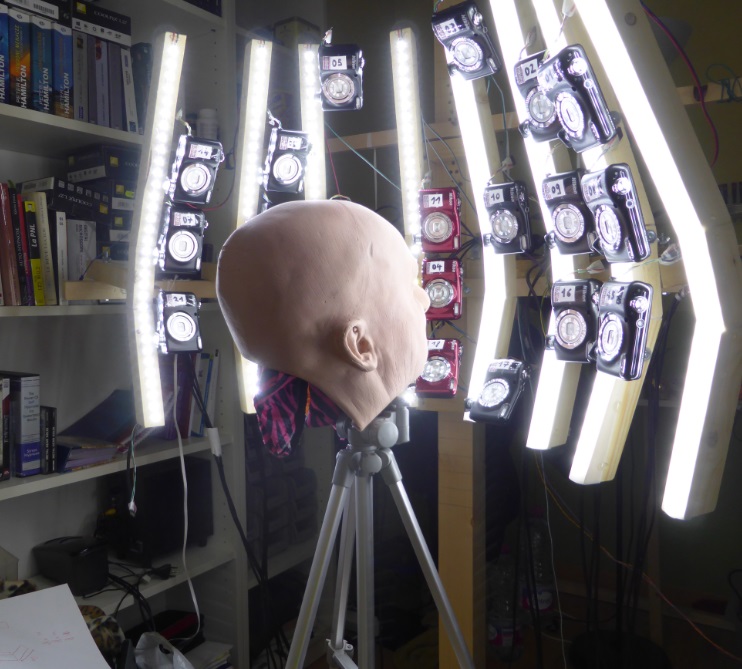
Lighting : diffuse, high CRI, head must be evenly lit shadows will mess up the scan
Since the shutter speed is fast, the aperture opening is small and ISO is de-activated a LOOOT of light is needed
▢ Scanner version 1.7
==Concept==
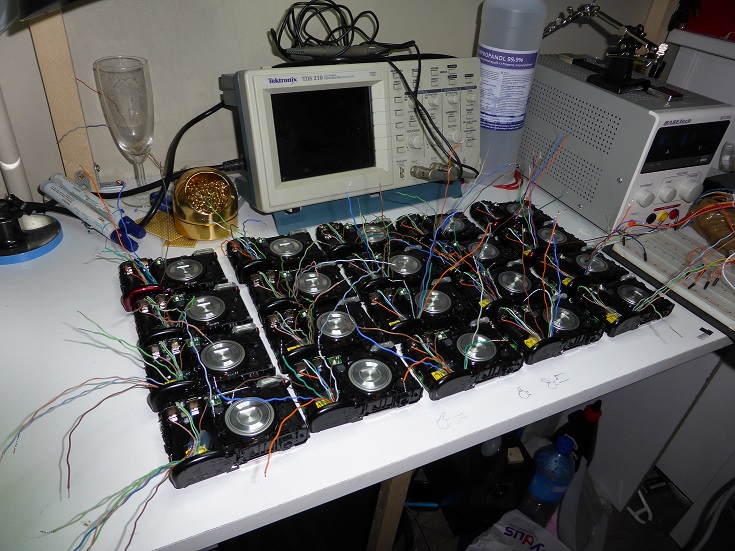
I’m using 21 point and shoot cameras, 3x7rows.
Various experimentations showed me that the upper row is unecessary, remove it and the scan will be the same.
However most of the time 4-6 camera fail to focus correctly, those 7 « useless » cameras then become usefull, redondancy ensure that you always have your 14 pics (failure on the bottom row is more problematic tho)
==Alimentation==
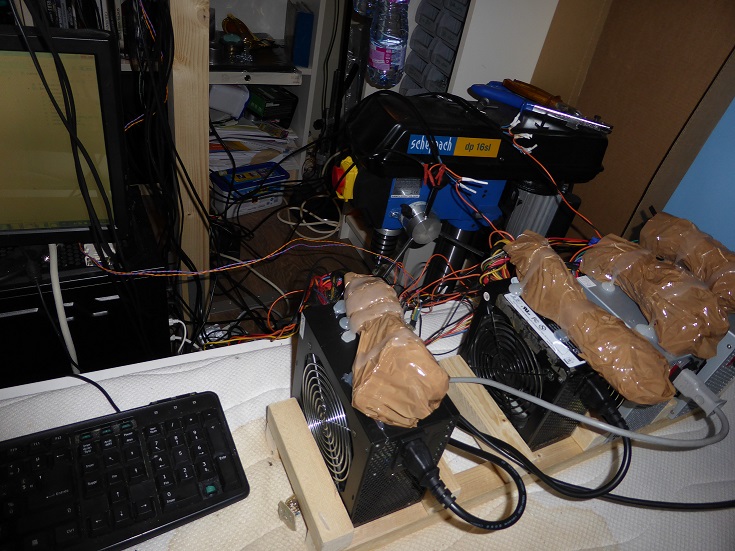
ATX alimentation were used for powering the cameras, a quick and dirty trick was used for regulation.
I’m using the 5V output, the camera need 3V, by using a 3 meter cable the power loss in the cable make the tension drop to 3.1V when the camera is idle and 2.9 when the camera is taking shot, which is perfect, no electronic required 😀
==Remote trigerring==
Wire were soldered directly on the cameras board, the connector was made so that polarity invertion will not cause damage
==Camera settings==
This was my big mistake, I had no idea that low end P&S cameras would not let you set ISO, TV/AV speed, and I bought 21 of them at the same time.
Therefore each cameras will choose it’s own iso, tv speed and av speed when focusing.
This is really bad, for photogrammetry application each pictures need to have the same parameters, here each pictures has different ones leading to medium quality 3d scans.
Canon P&S camera firmware can be hacked in order to change those settings, but V2.0 will be a DSLR based scanner.
==Scanner pic==
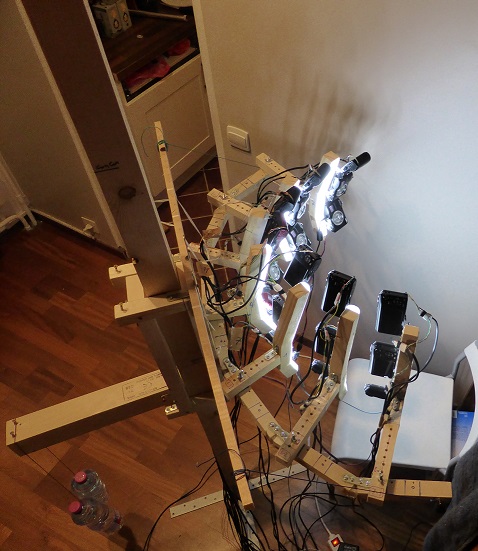
Yes those are water bottle used for balancing weight :p
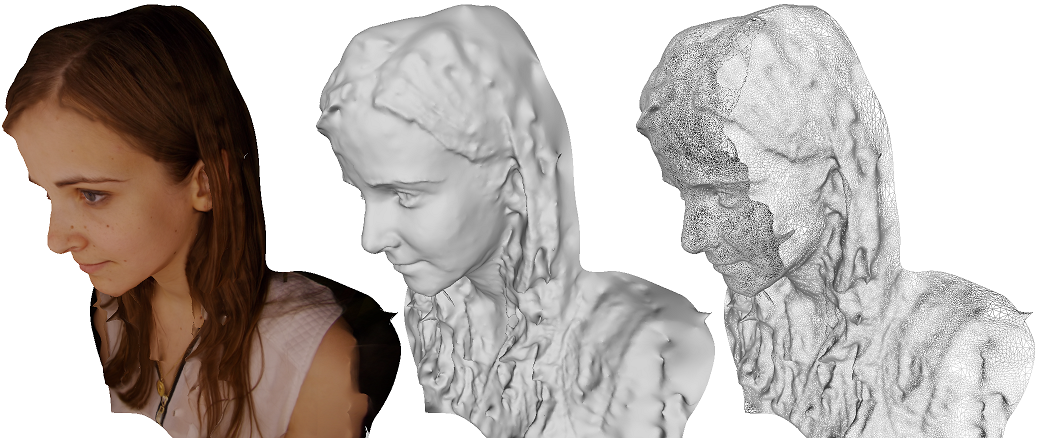
==Result (not one of the best)==
▢ what I learned
At first I was trying to make the subject head fill the whole field of view of each cameras, surprisingly it made very poor result, the quality of the facial feature was sharper but every photogrammetry software that I tried faild to make correct model.
It might be because when the head is only filling 40% of the field of view the camera are actually more distant thus allowing more DOF (I’m always shooting with their shortest focale)
Girls with make up are a nightmare to scan
Flash capacitor must be discharged before working on a camera, otherwhise you are going to hurt your hand 
Always clean the objective before doing any scan, it’s a shame to take 350 shot to later realise that 3 camera had some dust on them :/
Image stabilisation reduce sharpness